
Custom App Development Using Framer: A Real Dev's Journey
Custom App Development Using Framer: A Real Dev's Journey
Jun 8, 2025

Why Framer Changed Everything for App Development
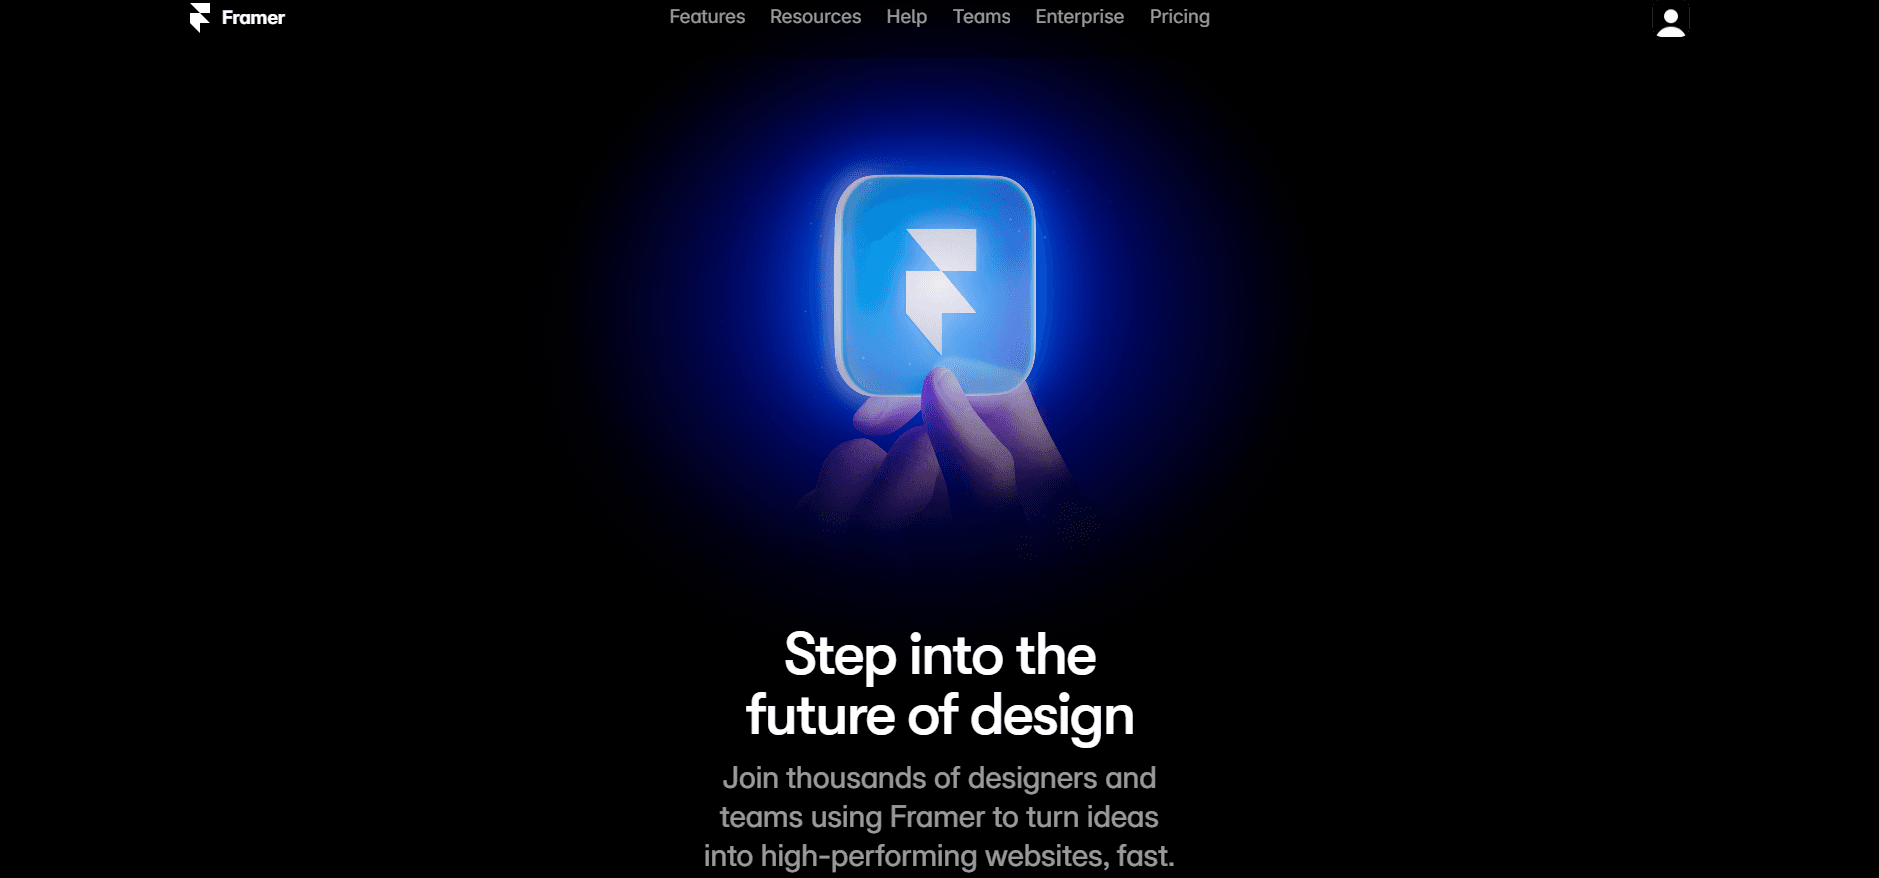
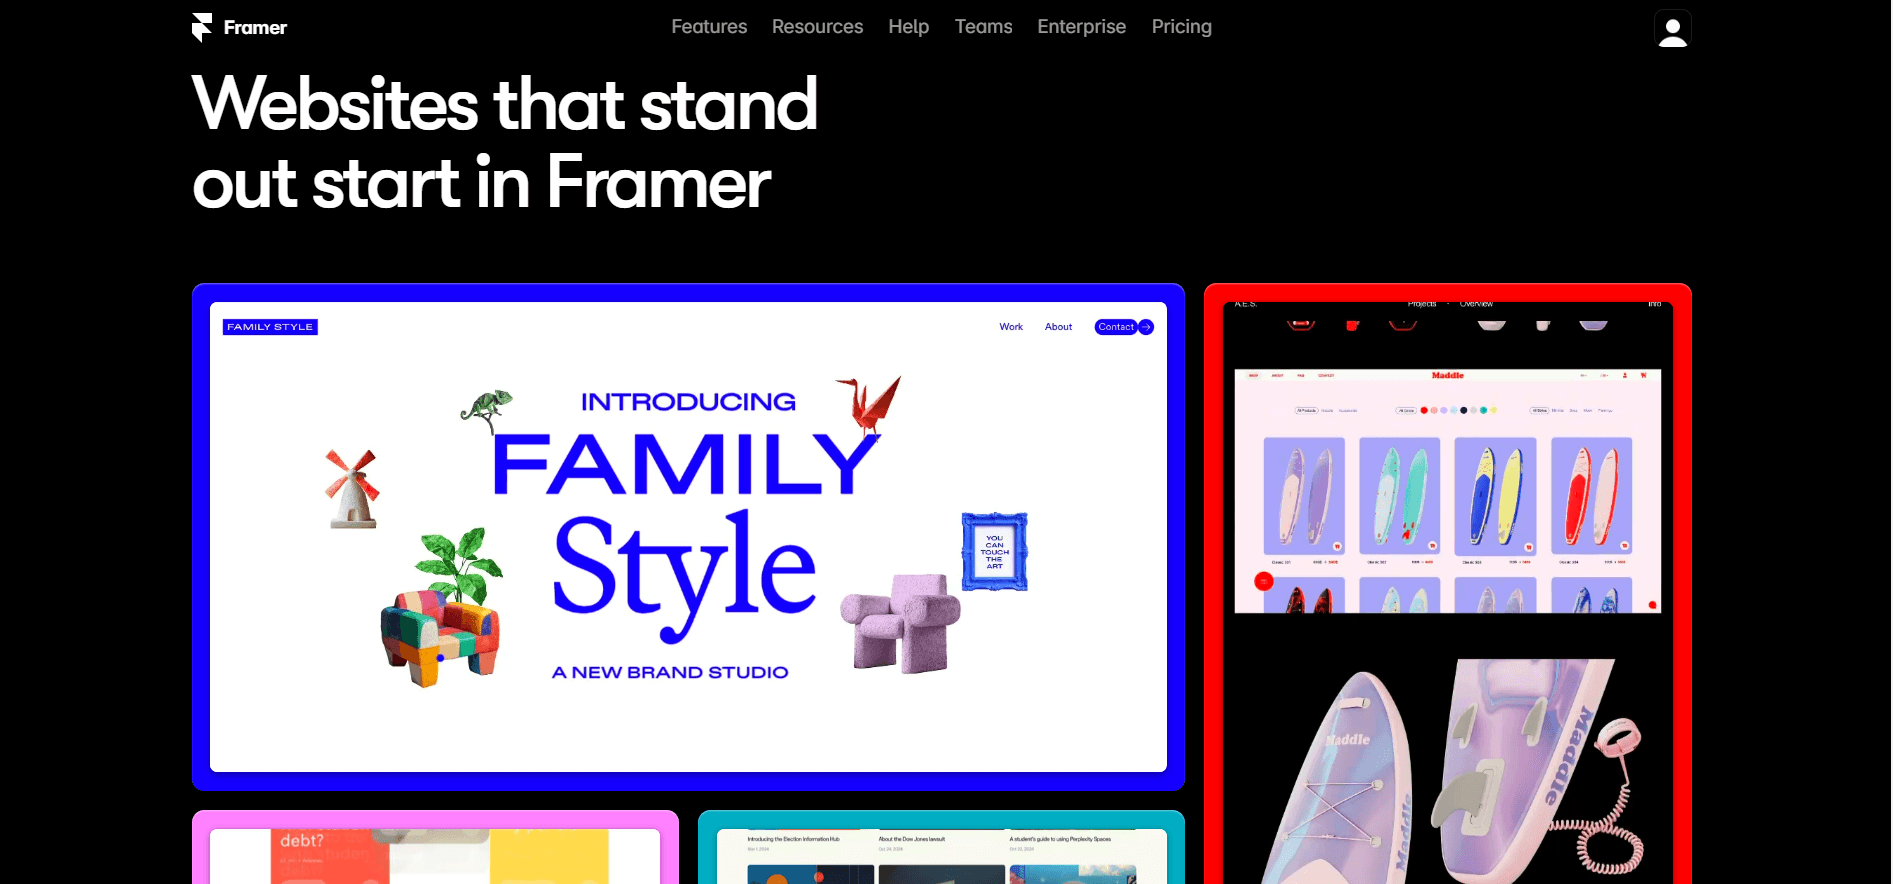
This screenshot from Framer's landing page highlights its interactive design and development focus. Notice the clean layout and clear call-to-actions. They emphasize ease of use and Framer’s visual strengths, making it clear the platform prioritizes user-friendliness for both designers and developers.
Building apps the traditional way can be a real slog. Coding, debugging, and the constant back-and-forth between design and development can make projects drag on. Using Framer for custom app development offers a much needed alternative. It’s a more visual and efficient approach that many developers are finding incredibly refreshing. It's genuinely changing how we approach app building, especially in India.
The Framer Advantage
Framer lets you visually design and build interactive prototypes that feel remarkably like the finished product. This not only speeds up development but also makes collaboration much smoother. Designers and developers can work together more effectively, tweaking designs in real-time and avoiding misunderstandings. Imagine adjusting animations directly in the prototype instead of going back and forth with static mockups and code revisions. That’s the kind of power Framer offers.
It's also interesting to see the growing trend in India of converting Figma designs into fully functional Framer websites. Companies like Unity Infoway are specializing in this service to meet the increasing demand for quick, responsive web solutions. It's especially useful for startups, portfolios, and marketing campaigns, highlighting the importance of fast turnaround times and visually appealing design in the Indian market.
Real-World Impact
Framer isn’t just for prototypes. You can actually build complete, production-ready apps with it. This is having a big impact on how agencies handle client projects. They can deliver impressive results faster, making clients happy and boosting their own efficiency. Think of it like building with pre-fabricated, customizable components. You get the speed of pre-built elements combined with the flexibility of custom code when needed.
Now, I’m not saying Framer is a magic wand. Like any tool, it has its limitations. It's fantastic for front-end development and rapid prototyping, but complex backend integrations might still require traditional coding. Knowing this helps you use Framer strategically. Consider your app’s core functions. If it relies heavily on complex server-side logic, Framer might be best suited for the front-end. But for apps focused on user interaction and visual polish, Framer can significantly simplify and accelerate the entire development process. This is particularly valuable in a fast-paced market like India where speed and innovation are key.
Let’s take a look at a table comparing Framer with other development approaches to further understand its strengths and weaknesses:
To help you grasp the benefits of using Framer, let's compare it to other common development methods. The table below illustrates the key differences in development speed, learning curve, customization options, and deployment:
Feature | Framer | Traditional Coding | No-Code Platforms |
|---|---|---|---|
Development Speed | Fast | Slow | Medium |
Learning Curve | Easy/Medium | Difficult | Easy |
Customization | High (with code overrides) | Highest | Limited |
Deployment | Easy | Medium | Easy |
Interactive Design | Excellent | Good (requires libraries/frameworks) | Varies, generally less interactive |
Collaboration | Excellent | Good | Good |
As you can see, Framer offers a sweet spot between ease of use and customization. While traditional coding provides the ultimate flexibility, it comes at the cost of time and complexity. No-code platforms offer simplicity, but often lack the customization needed for truly unique apps. Framer bridges this gap.
Knowing Framer's strengths and limitations helps you maximize its potential and avoid surprises. This sets you up to integrate Framer effectively into your workflow and achieve your app development goals.
Setting Up Your Framer Workspace Like a Pro
So, you're ready to dive into building custom apps with Framer? Awesome! Creating an account is the first step, but setting up your workspace properly is crucial, especially for bigger projects. Think of it like organizing your spice drawer – having everything in its place makes cooking (or in this case, designing) so much smoother.
Choosing the Right Plan
Framer offers a few different plans, each with its own advantages. The free plan is great for getting started and experimenting. But as your projects grow and you need more features, like shared workspaces or unlimited projects, upgrading to a paid plan is essential. It's like choosing the right size container for your needs – a small one works for a single person, but a family needs something bigger!
Organizing Your Projects
Even when working solo, a well-organized workspace saves time and headaches. Create separate projects for different app versions or features. This lets you experiment freely without messing up your core project, and you can easily revert to earlier versions. Just like chefs organize their mise en place - everything prepped and ready to go. This way, you’re not scrambling when things get hectic.
Essential Integrations
Framer integrates seamlessly with other tools to boost your workflow. Connecting to design software like Figma makes importing designs and maintaining consistency a breeze. You can also integrate with version control systems like GitHub for seamless collaboration and change tracking. If you need help editing text within Framer templates, I’ve got you covered - check out this guide. These integrations truly enhance the workflow, just like the right spices elevate a dish.
Version Control and Design Handoff
Version control isn’t just for code! While Framer's built-in version history is helpful, integrating with Git takes it to the next level. It's like keeping a detailed log of every ingredient and step in a recipe – you can easily recreate or adjust it later. It's especially helpful for teams, allowing everyone to see changes and contribute effectively. This makes design handoff between designers and developers infinitely smoother and prevents accidentally overwriting someone’s work – a true nightmare scenario!
Common Setup Mistakes
One common mistake? Not having a clear naming convention for projects and files from the beginning. Trust me, I've learned this the hard way – it becomes a real pain as projects expand. Another frequent oversight is neglecting version control. It seems like an extra step initially, but it's a lifesaver when things go wrong. Imagine spending hours on a design, only to delete it accidentally. Version control allows you to easily restore previous versions, preventing these disasters.
Time-Saving Configurations
Framer offers tons of customizable shortcuts and preferences. Take the time to explore them and personalize your environment. Customizing keyboard shortcuts for frequent actions can dramatically speed up your workflow. It's like having your favorite spices within easy reach. Also, take advantage of Framer’s component library. Building reusable components saves time and maintains design consistency throughout your app. These little configurations can make a huge difference to your overall productivity.
By setting up your Framer workspace strategically, you'll create a smooth and efficient development process, making bringing your app ideas to life much easier.
Building Interactive Prototypes That Feel Alive
This is where building custom apps with Framer becomes truly captivating. We're talking about transforming static designs into something tangible, something users can actually engage with. Think of it as bridging the gap between presenting a client with a flat image and letting them experience the app firsthand.
From Wireframes to Interactive Magic
Designing in Framer isn't about painstakingly perfecting individual pixels. It's about considering interactions from the very beginning. As you're wireframing, think about how each element will respond to user input. Will it slide into view? Maybe a subtle fade? Thinking about these interactions early on will make the transition to interactive prototyping smooth and intuitive.
Imagine choreographing a dance. You're not just positioning dancers on a stage; you're orchestrating their movements and how they interact. That's how you create a captivating performance, and that’s the same magic we're aiming for in Framer.
The Art of Component Creation
Seasoned Framer developers understand the power of reusability. Instead of building every element from scratch, they create components. These components are like building blocks you can reuse throughout your app, maintaining consistency and saving valuable time. It’s like building a house—you wouldn’t build a new door for every room, would you?
Creating components is like building your own design system within Framer. It's about crafting intelligent, adaptable elements that can be used in different situations, saving you hours of repetitive work.
Breathing Life Into Your Prototypes
Framer provides powerful tools for crafting advanced animations and micro-interactions. These small details, like a gentle bounce on a button press or a fluid transition between screens, elevate your app, making it feel polished and professional. These seemingly minor touches add a layer of delight and engagement that truly sets your work apart. It's not just about functionality; it's about creating an enjoyable experience.
Think about the apps you enjoy using daily. The ones you love likely have these subtle nuances that make them a pleasure to use. That’s precisely what we want to achieve – an app that not only works flawlessly but also delights users with its responsiveness and polish.
Responsive Design and User Testing
Building a successful app means considering how it looks and performs on different devices. Framer's responsive design features let you preview and adjust your prototype across various screen sizes, ensuring a consistent experience for all users.
Consider the diverse landscape of device usage, where users access the web through a spectrum of devices. Ensuring your design adapts seamlessly is paramount for reaching a broad audience.
Speaking of diverse tech landscapes, Bangalore, India, is a significant hub for software development, including Framer expertise. Getwidget, a Framer development company in Bangalore, has helped numerous businesses build effective landing pages. Their specialized knowledge ensures clients receive top-notch solutions. Discover more insights on Framer website development.
The Power of Feedback
User testing is invaluable. Framer makes it easy to share your prototype with real users and gather their feedback early in the development process. This helps identify and address usability issues before investing too much time in something that might not work as intended. It's like having a fresh perspective on your work, ensuring it resonates with your target audience.
Lottie animations can also enhance your Framer prototypes. By combining powerful prototyping with effective user testing, you create a development loop that consistently leads to a better, more user-centered product. This iterative approach empowers you to create apps that not only meet client expectations but truly resonate with users.
By using these techniques, you can leverage Framer to create high-quality, interactive prototypes that are guaranteed to impress. Remember, it’s all about crafting an experience that feels smooth, engaging, and truly alive.
Adding Real Power: Integrations and Custom Code
Building a slick prototype in Framer is a fantastic first step, but it's like having a beautifully sculpted car body without an engine. It looks great, but it won't get you anywhere. To make your Framer prototype a real, working app, you need to integrate it with the services that bring it to life.
That means connecting to databases, APIs, and all the other bits and pieces that make an app actually do something.
Connecting to the Digital World
Framer has a powerful integration ecosystem. This is how you turn a static click-through into a dynamic tool. Imagine integrating with a database to save user data, hooking up to a payment gateway like Stripe to handle transactions, or pulling in live information from external APIs.
Let's say you’re building an e-commerce app. You've crafted a gorgeous storefront in Framer, but now you need to let people buy things. That’s where integrating with a payment gateway like Razorpay (especially useful in India) comes in. And to manage products and inventory, you'd connect to a database like MongoDB.
Extending Framer's Capabilities With Custom Code
Sometimes, you need to go beyond Framer’s standard features. That's where custom code comes in. Don't worry, it’s not about rebuilding the whole thing. Think of it more like adding spices to a great dish—enhancing the flavor, not rewriting the recipe.
With custom code, you can add things like custom form validation, create slick animations with libraries like GSAP, or implement complex logic tailored to your specific needs.
Practical Examples and Hands-On Learning
Let’s get down to brass tacks. Think about a login form. You could build it with Framer’s components, but then you'd probably add custom code to validate user inputs and securely authenticate through a backend API. Or imagine building a real-time chat – you'd likely integrate with a third-party messaging service via their API.
To help you visualize the performance advantages, check out this data:
As you can see, Framer apps boast fast build times, quick loading, and high user satisfaction. It’s a testament to efficient development and a smooth user experience.
Before diving deeper, I've put together a table summarizing common integrations you might use:
Popular Framer Integrations and Use Cases
Integration Type | Complexity | Use Cases | Setup Time |
|---|---|---|---|
Payment Gateways (e.g., Stripe, Razorpay) | Low to Medium | E-commerce, subscriptions | A few hours |
Databases (e.g., MongoDB, Firebase) | Medium | User data storage, dynamic content | 1-2 days |
Analytics (e.g., Google Analytics, Mixpanel) | Low | User behavior tracking | A few hours |
APIs (e.g., Third-party services) | Varies | Real-time data, custom functionalities | Varies depending on API |
Animation Libraries (e.g., GSAP) | Medium | Advanced animations and transitions | A few hours to a day |
This gives you a quick overview of what's possible and the level of effort involved. Remember, these are just a few examples, and the possibilities are practically endless.
Debugging, Optimization, and Maintenance
As your app grows, bugs are inevitable. Getting good at debugging is a lifesaver. And optimizing your code for performance is key for a responsive, user-friendly experience. Like a well-tuned engine, optimized code makes everything run smoothly.
Think of code optimization like tuning a car engine. You want it to run smoothly and efficiently, getting the most out of its resources.
Maintaining good code quality is vital as your project scales. This might involve regular refactoring, version control, and establishing coding standards. This keeps your app manageable and scalable as it grows.
Building custom apps is a journey. It's all about finding that sweet spot between Framer's visual design power and the flexibility of code. By combining these, rigorously testing, and maintaining your codebase, you can build amazing app experiences that are perfectly suited to your project’s needs. For some extra animation magic, check out this guide on adding GSAP animation in Framer.
Testing and Polishing Your App Experience
Building a functional app in Framer is just the starting point. The real work begins when you refine it into something users will genuinely enjoy. It’s like sculpting – you have the basic form, but now you need to shape it into a masterpiece. That’s where testing and polishing comes in.
Guerrilla Usability Testing: Real Users, Real Feedback
Forget stuffy labs. Grab your laptop, find a coffee shop, and ask real people to use your app. You’ll be surprised at what you learn. Watch how they interact with your Framer creation, where they stumble, and what leaves them scratching their heads. This informal, "guerrilla" testing provides incredibly valuable insights from your target audience.
For example, imagine building a food delivery app. Observing someone trying to place an order can reveal usability issues you’d never have thought of. Maybe the navigation isn't so intuitive, or perhaps the payment process is unclear. This real-world feedback helps you find and fix problems before they impact a larger audience.
Performance Optimization: Keeping it Smooth
Nobody likes a slow app. Optimize your Framer app's performance to ensure it runs smoothly on a variety of devices and browsers. This means compressing images, streamlining animations, and removing unnecessary code.
Large, unoptimized images can significantly impact loading times. I’ve seen this happen countless times. A tool like TinyPNG can work wonders, compressing images without sacrificing noticeable quality.
Cross-Device Compatibility: Ensuring a Consistent Experience
People use a huge range of devices and browsers. Testing your Framer app across different platforms is vital for providing a consistent experience for everyone. Use browser developer tools and device emulators to spot and fix compatibility issues.
Think about someone accessing your app on a less powerful phone with a slower internet connection. Does it load quickly? Are the interactions responsive? Thorough cross-device testing makes sure your app works beautifully, no matter the device.
A/B Testing: Data-Driven Decisions
A/B testing is a powerful way to optimize the user experience. Create two versions of a feature and see which one performs better. You could test different button placements, color schemes, or even the wording you use. Let the data guide your choices.
Let’s say you’re unsure about where to place a call-to-action button. Create two versions – one with the button on the left and one on the right. Track which version gets more clicks and use those results to inform your final design.
User Analytics: Understanding User Behavior
Integrating analytics tools into your Framer app reveals valuable data about user behavior. Track how users navigate your app, where they spend their time, and which features they use most. This data can pinpoint areas for improvement and help you personalize the experience.
For instance, if users are abandoning their carts at a specific point in the checkout process, you can investigate why and make adjustments to simplify the flow. This might involve streamlining the form or providing clearer instructions.
Gathering and Implementing Feedback: The Iteration Loop
Building a great app is an ongoing journey. Continuously gather feedback, iterate on your designs, and implement improvements based on what you learn from user data and testing.
It's like perfecting a recipe. You test it, gather feedback, adjust the ingredients, and keep testing until you achieve the desired outcome. By thoroughly testing and polishing your Framer app, you create an experience that not only works well but also delights users, encouraging engagement and fostering loyalty. The key to a successful app is a smooth, intuitive, and enjoyable user experience.
Launching Your App Into the Wild
Releasing your Framer app is a huge milestone. It's so much more than just clicking "publish." It's about smoothly transitioning your project from the development stage to a live, breathing application that real users can interact with. Think of it as the culmination of all your hard work, ready to be shared with the world.
Deployment Strategies for a Smooth Launch
You've got a few options when it comes to deploying your Framer creation. Framer's own hosting is super convenient – like a one-stop shop. But if you're looking for more control and customization, platforms like Vercel and Netlify are great alternatives. They give you the reins to fine-tune the technical details.
A smooth deployment, no matter the platform, really comes down to planning. This includes:
Domain Setup: Using a custom domain makes your app look polished and professional, instantly boosting user trust.
SSL Configuration: SSL encryption is non-negotiable. It's all about protecting your users' data and ensuring their security.
Performance Monitoring: Monitoring tools are your eyes and ears, letting you catch any hiccups before your users do.
Preparing for User Feedback and Scalability
Once your app is out there, be prepared for feedback – both good and bad. Some users will inevitably find bugs or have suggestions for improvements. Addressing these swiftly and gracefully will make a world of difference.
Scalability is another important factor. You want your app to handle growth gracefully without crashing under pressure. Don't over-engineer, though. Start with a setup that meets your current needs, and scale up as you go.
From my experience, building custom apps with Framer in India is becoming increasingly popular, largely because of cost advantages. Hiring Framer developers there can lead to significant savings compared to Western markets. Junior developers generally charge around $10-$25 per hour, mid-level developers between $25-$45 per hour, and senior developers from $45-$80 per hour. If you're interested, you can discover more insights on Framer development costs.
Post-Launch Maintenance and Monetization
Post-launch maintenance is key for long-term success. Regular updates, bug fixes, and performance tweaks keep users happy. But be realistic about your capacity. A sustainable maintenance schedule prevents burnout and keeps your app running smoothly.
Monetization is a whole other ballgame. Subscriptions, in-app purchases, and advertising integrations are just a few options. The best approach depends on your app's purpose and who you're targeting.
User analytics tools are invaluable for understanding how people actually use your app. Integrating analytics gives you the data to make informed decisions and improve the user experience.
Launching an app is a journey. By focusing on a smooth deployment, anticipating user feedback, and planning for scalability, you'll give your Framer app a real fighting chance. And through ongoing maintenance, user analytics, and smart monetization strategies, you can build a loyal user base and even generate revenue.
Your Path Forward in Framer Development
So, you've built your first Framer app. Congrats! But the journey doesn't end here. It’s kind of like learning to ride a bike—you’ve ditched the training wheels, but there’s a whole world of tricks and terrains to explore. This section is all about what to do next and how to keep growing as a Framer developer.
Next Steps After Your First App
The most frequent question I get after someone ships their first Framer project is, "What should I build next?" Honestly? Don’t overthink it. Pick something that genuinely excites you, even if it seems a bit ambitious. Passion is a seriously powerful motivator.
Here are a few ideas to spark your imagination:
Clone a Simple App: Recreating existing apps, like a basic to-do list or a simple e-commerce product page, is a fantastic way to solidify your understanding of layout, interactions, and how things fit together.
Build a Portfolio Piece: Show off your skills with a project that reflects your creativity and technical chops. This could be anything from a personal website to an interactive data visualization—whatever gets you fired up.
Solve a Personal Problem: Think about a daily frustration you have and design a Framer app to fix it. This approach not only hones your skills but also results in something genuinely useful.
Resources for Continued Learning
The internet is overflowing with resources, which can be overwhelming. My advice? Focus on structured learning paths that align with your goals. Framer's documentation is an excellent place to start. Community forums like the Framer Community are goldmines for getting your questions answered and connecting with other developers.
For inspiration and practical examples, check out sites like Framerry. They have some great guides on animations and portfolio building that I’ve found helpful.
Building a Sustainable Development Practice
Whether you’re building for yourself or offering Framer development services, consistency is paramount. Try to establish a regular development schedule, even if it's just a few hours a week. This helps you maintain momentum and keeps your skills sharp.
Setting realistic milestones is also key. Break down bigger projects into smaller, manageable chunks. Celebrating these small victories along the way keeps you motivated and gives you a real sense of progress.
Finally, never stop experimenting. Framer is constantly evolving, so embrace new features and play around with different approaches. This not only keeps your skills fresh but also ensures you’re always pushing the boundaries of what’s possible with the platform. Your Framer journey is just beginning!
Ready to take your animations to the next level?
Master custom app development using Framer with insights from developers who've built successful apps. Practical advice, real examples, proven strategies.

Ready to elevate your website? Let’s bring your vision to life with Framer.