Step-by-Step Guide: How to Edit Text in Framer Template for Stunning Designs
Dec 11, 2024
Introduction
Framer is a powerful design tool that empowers creators to craft visually stunning web designs with ease. Its templates provide a perfect starting point for designers, offering pre-built layouts that are fully customizable. In this guide, we focus on one essential aspect of customization: editing text within Framer templates. By mastering this skill, you can ensure your designs communicate effectively while looking polished and professional.
Understanding Framer Templates
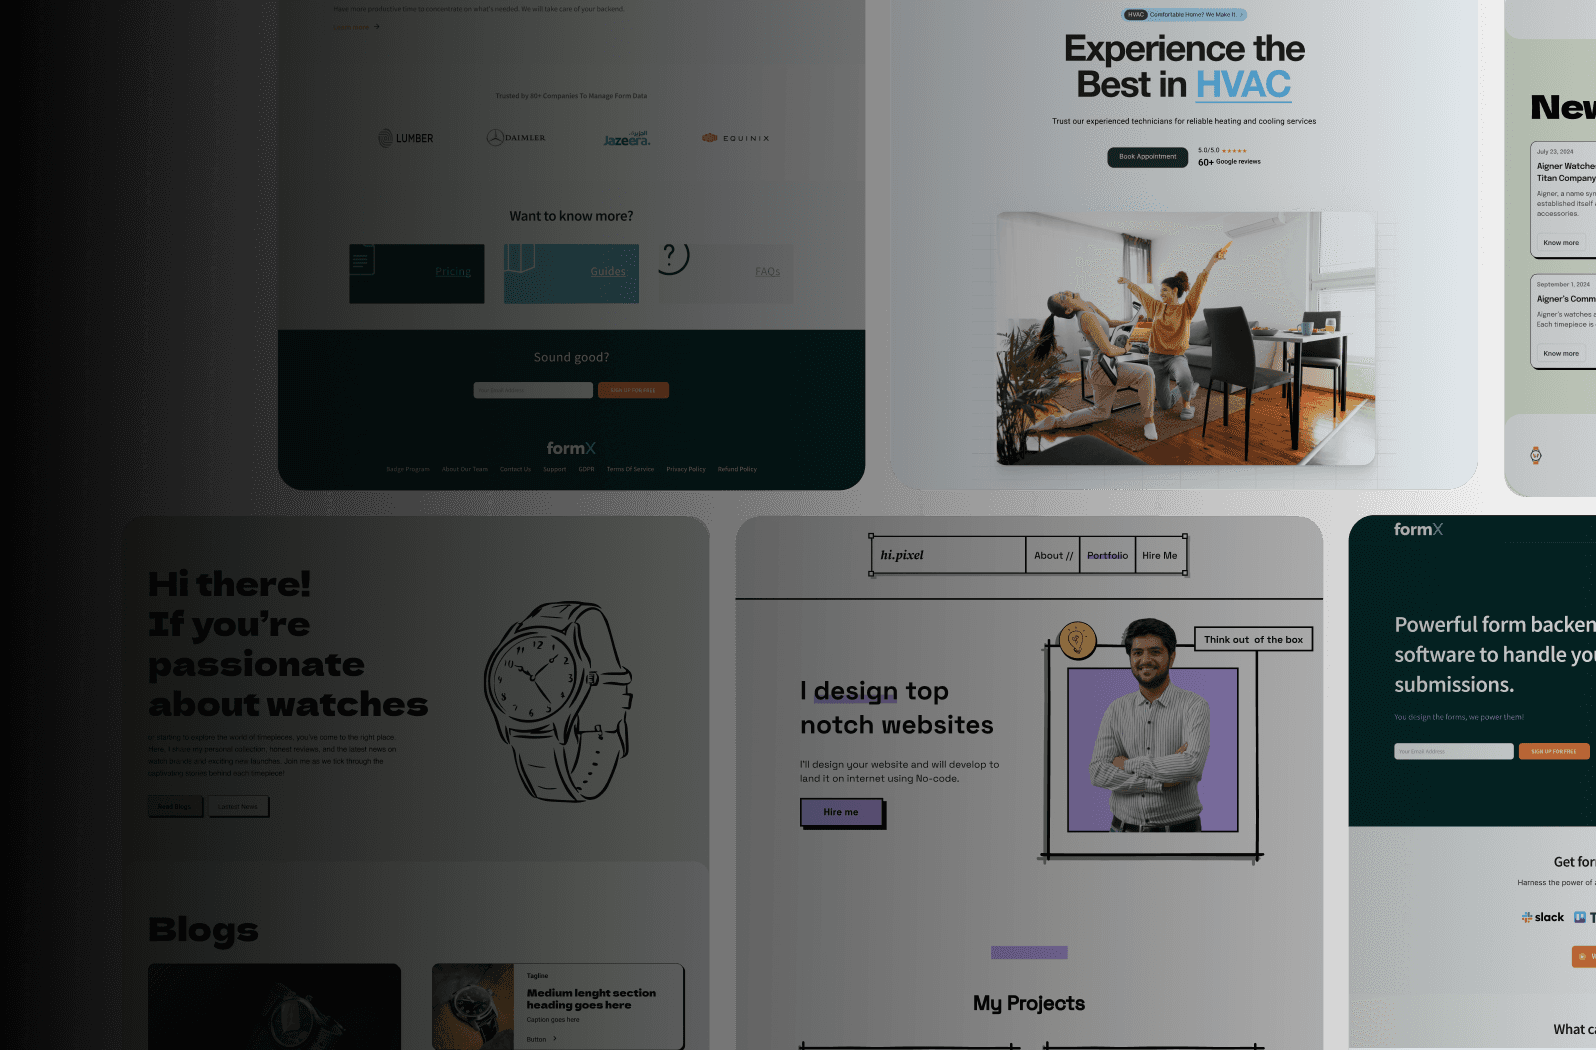
Framer templates are pre-designed layouts that streamline the design process. They’re highly flexible, allowing users to tweak every element—including text—to match their vision. Whether you’re creating a portfolio, landing page, or business website, Framer templates give you the foundation to build stunning designs quickly and efficiently.
Customizability of Text in Framer Templates
Change text content to match your project’s messaging.
Modify fonts, sizes, and colors to align with your branding.
Adjust layout and alignment for optimal readability.
Importance of Editing Text
Editing text is more than just updating content; it’s about enhancing your design’s aesthetics and ensuring clear communication with your audience.
Why It Matters:
Improves User Experience: Well-edited text ensures clarity and guides users effortlessly through your site.
Strengthens Aesthetics: Proper formatting and typography elevate your design.
Enhances Engagement: Clear, visually appealing text captures and retains audience attention.
Step-by-Step Instructions on Editing Text in Framer
Step 1: Accessing Your Framer Template
Log in to your Framer account.
Open the project containing the template you want to edit.
Locate the specific template by browsing your projects or using the search feature.
Step 2: Navigating to the Text Element
Click on the section of the template where the text resides.
Use the Layers Panel to identify the text element (usually labeled for easy navigation).
Step 3: Editing the Text
Select the text element you want to edit.
Replace the placeholder text with your desired content.
Use the Inspector Panel to:
Change font size, style, and weight.
Adjust text color to match your design palette.
Apply alignment settings (left, center, or right).
Step 4: Previewing Changes
Click the Preview button to see how your edited text looks in real-time.
Check for any alignment or spacing issues.
Step 5: Saving and Publishing
Save your changes by clicking the Save button.
Publish the updated template by selecting the Publish option in the top-right corner.
Tips for Stunning Text Designs
Font Pairing: Use complementary fonts for headings and body text.
Color Contrast: Ensure sufficient contrast between text and background for readability.
Alignment: Maintain consistent alignment to create a cohesive layout.
Recommended Tools:
Google Fonts for font selection.
Coolors for generating color palettes.
Common Issues and Troubleshooting
Issue 1: Text Overflow
Solution: Adjust the text box size or use a smaller font.
Issue 2: Unreadable Text
Solution: Increase contrast by changing text or background colors.
Issue 3: Changes Not Saving
Solution: Ensure you’re logged in and have an active internet connection. Double-check permissions for collaborative projects.
Conclusion
Editing text in Framer templates is a fundamental skill for creating stunning and effective designs. By following this step-by-step guide, you can confidently customize your templates to convey your message while maintaining a professional aesthetic.
Ready to start? Open Framer and begin editing your templates today. Don’t forget to share your stunning designs on social media using #FramerDesigns. For more tips and tutorials, subscribe to our blog and elevate your design game!
Ready to take your designs to the next level?
Start your journey with Framer today and bring your ideas to life effortlessly.
Get Started Today!
Ready to elevate your website? Let’s bring your vision to life with Framer.


